
How to Import 3ds Max Files into Blender: Complete Guide (FBX, OBJ, and .MAX)
05 May 2026
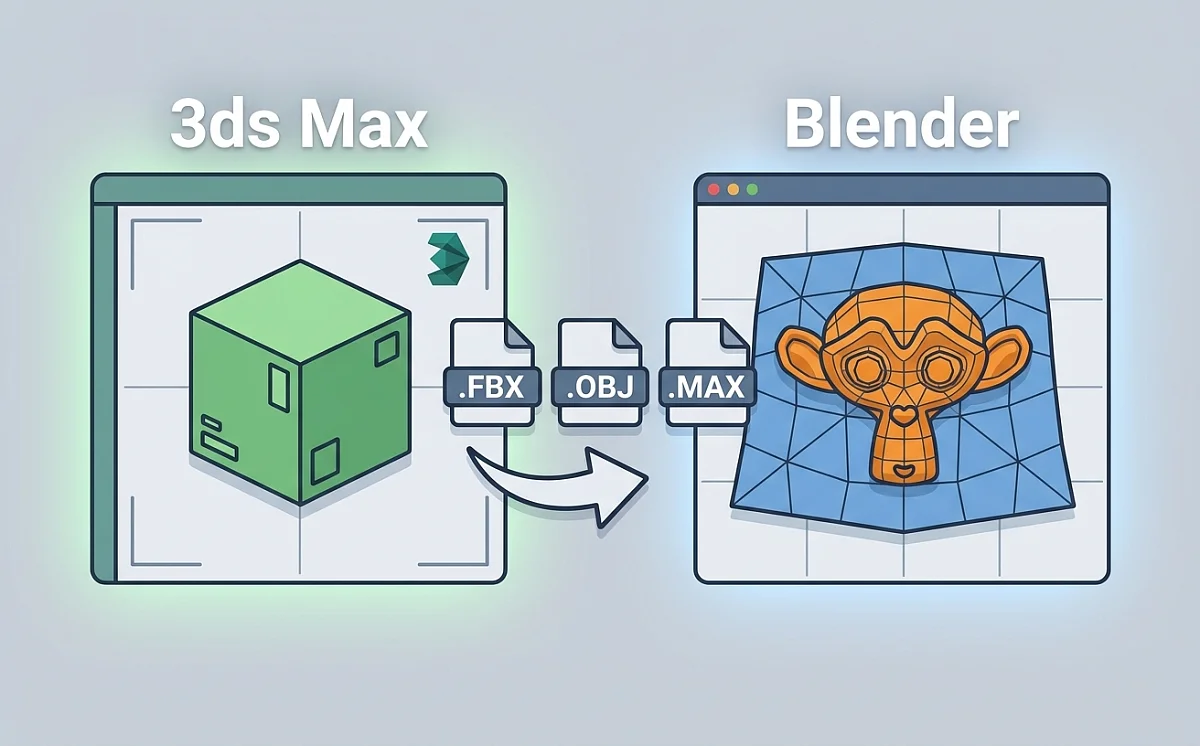
How to Import 3ds Max Files into Blender: Complete Guide
Blender cannot open .max files natively. The .max format is proprietary to Autodesk 3ds Max and stores scene data in a closed binary format that Blender has no built-in reader for. To bring 3ds Max content into Blender you have three options: export to FBX from 3ds Max, export to OBJ, or use the Import Autodesk MAX extension introduced in Blender 4.2 which reads .max files directly without requiring 3ds Max to be open.
Method 1: Export FBX from 3ds Max and Import into Blender
FBX is the most reliable format for transferring 3D data between applications. It preserves object hierarchies, UV maps, skeletal animations and basic material assignments. This method works with any version of Blender and does not require Blender 4.2.
Step 1: Prepare the scene in 3ds Max
- Select all objects you want to transfer.
- Run Reset XForm (Utilities panel) to bake rotation and scale data before export. Skipping this step causes objects to arrive in Blender with incorrect transforms.
- Collapse the modifier stack on each object.
- Make sure all textures are in a single folder and paths are not broken.
Step 2: Export from 3ds Max
- Go to File > Export > Export Selected.
- Choose FBX 2013/2014 Binary for maximum compatibility with Blender's importer.
- In the FBX export dialog enable: Smoothing Groups, Preserve Edge Orientation, Embed Media if you want textures packed into the file.
- Set Scale Factor to 1.0 and Units to Centimeters to match Blender's default scene scale.
Step 3: Import FBX into Blender
- In Blender go to File > Import > FBX.
- Set Scale to 0.01 if your objects arrive oversized. 3ds Max works in millimeters by default while Blender works in meters, which creates a 100x scale difference.
- Enable Apply Transform in the import options to apply axis corrections automatically.
Method 2: Open .MAX File Directly in Blender 4.2+
Blender 4.2 introduced an official Import Autodesk MAX extension that reads .max files directly without exporting from 3ds Max first. This is the best method for ArchViz scenes with complex V-Ray or Corona shaders because the extension attempts to translate material data that FBX export would lose.
How to install and use the Import Autodesk MAX extension
- Open Blender 4.2 or later.
- Go to Edit > Preferences > Get Extensions.
- Search for Import Autodesk MAX and click Install.
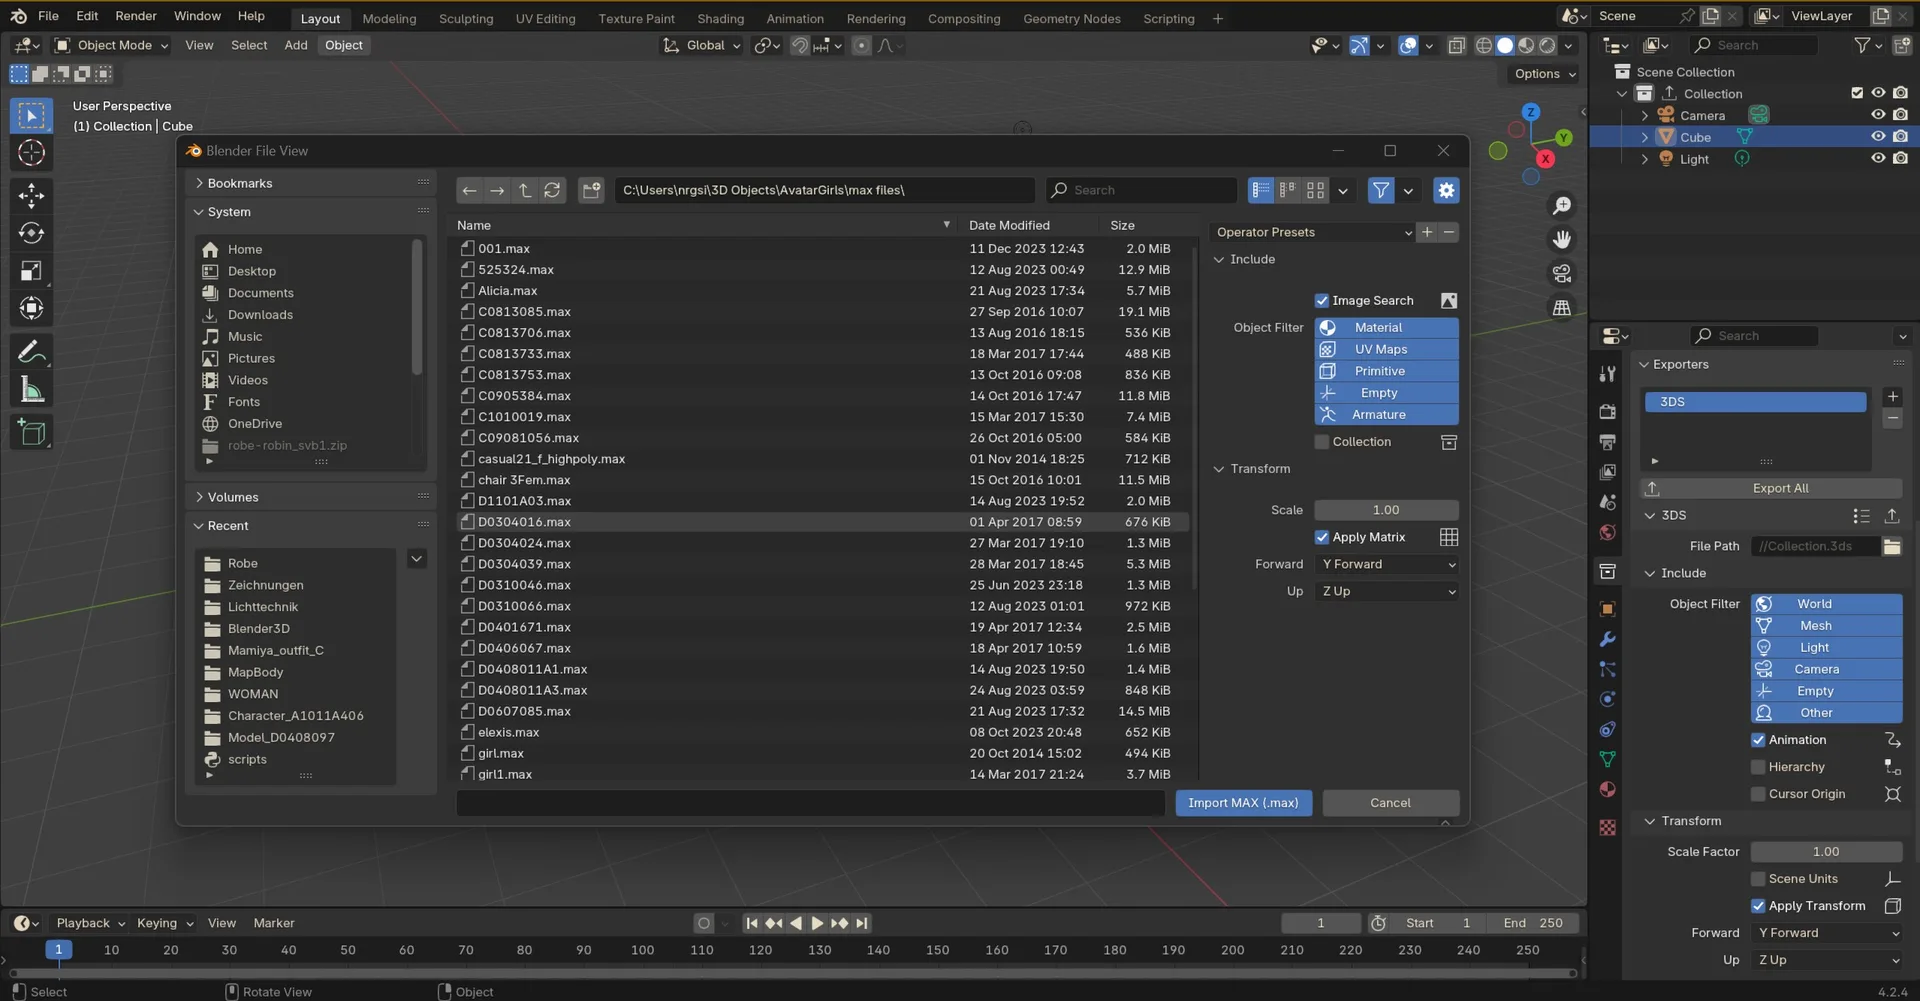
- Once installed, go to File > Import > Autodesk MAX.
- Select your .max file and click Import.
- Alternatively drag and drop the .max file directly into the Blender viewport.
Known limitations of the .MAX importer
- The extension supports .max files saved in 3ds Max 2015 and later. Files from older versions may not import correctly.
- V-Ray and Corona materials are partially translated to Cycles nodes. Complex multi-layered shaders will need manual adjustment after import.
- Procedural modifiers such as Turbosmooth and FFD are not supported. The geometry must be collapsed in 3ds Max before saving if you need the subdivided mesh.
- If you do not have 3ds Max installed, the extension still works. It reads the .max binary directly.
Scale settings for .MAX import
Before saving the .max file, set System Units in 3ds Max to Centimeters via Customize > Units Setup > System Unit Setup. In Blender set Scene Unit Scale to 1.0. This produces a 1:1 physical scale transfer and prevents the scaling issues common when mixing applications with different default unit systems.
Method 3: Export OBJ from 3ds Max and Import into Blender
OBJ is the simplest transfer method and works with every version of Blender. Use it for static geometry where you do not need animation data, object hierarchies or advanced materials. OBJ exports triangulated meshes and carries only basic material data via an accompanying .mtl file.
Step 1: Export OBJ from 3ds Max
- Go to File > Export > Export Selected and choose OBJ as the format.
- Enable Flip ZY Axis in the export options. 3ds Max uses Z-up orientation while Blender uses Y-up, and without this correction your model will arrive rotated 90 degrees.
- Enable Export Texture Coordinates to preserve UV maps.
- Keep all textures in the same folder as the exported OBJ file so the .mtl file can find them.
Step 2: Import OBJ into Blender
- Go to File > Import > Wavefront OBJ.
- If you used Flip ZY Axis during export, set Forward Axis to Y and Up Axis to Z in the import options.
- Enable Import UV Coordinates and Import Materials.
Comparison of Transfer Methods
| Feature | FBX Export | Direct .MAX Import | OBJ Export |
|---|---|---|---|
| Blender version required | Any | 4.2+ | Any |
| 3ds Max required | Yes | No | Yes |
| Materials | Basic / Textures | Partial V-Ray / Corona | Basic (.mtl) |
| Geometry | High quality | Clean quads | Triangulated |
| Animation | Yes | Limited | No |
| Best use case | Props / Animation | ArchViz scenes | Simple static geometry |
Troubleshooting Common Import Problems
Missing textures after import
Go to File > External Data > Find Missing Files in Blender. Point it to the folder where your 3ds Max bitmaps are stored and Blender will automatically relink every shader in the scene. If textures were not embedded in the FBX file, they must be in an accessible folder on the same machine.
Objects arrive with wrong scale
This is almost always a units mismatch between 3ds Max and Blender. Set 3ds Max System Units to Centimeters before export and use a scale factor of 0.01 when importing FBX into Blender. For the .MAX importer set Scene Unit Scale to 1.0 in Blender.
Objects arrive rotated 90 degrees
3ds Max uses Z-up axis orientation while Blender uses Y-up. When importing FBX enable Apply Transform in the import dialog. When importing OBJ make sure you enabled Flip ZY Axis during export from 3ds Max, then set the correct Forward and Up axes in Blender's import options.
The .MAX importer does not appear in Blender's import menu
The Import Autodesk MAX extension requires Blender 4.2 or later. If you are running an earlier version, update Blender first. If you are on 4.2 and the extension is not visible, go to Edit > Preferences > Get Extensions, confirm the extension is installed and enabled, then restart Blender.
3D Rush Blog — Tips, Tutorials and News for 3D Artists.
The 3D Rush blog is a resource for architects, interior designers, and 3D visualizers who work with 3ds Max, V-Ray, and Corona Renderer. We publish practical tutorials, workflow tips, and updates about our 3D model library to help you work faster and produce better renders.
What You Will Find on the Blog
Our articles cover topics that matter to professionals working in architectural visualization and interior design:
3ds Max Tips — shortcuts, modeling techniques, scene organization, and workflow improvements that save hours on complex projects.
V-Ray and Corona Tutorials — lighting setups, material creation, render settings, and optimization techniques for photorealistic results.
3D Model Guides — how to organize your asset library, use the QuickMerge plugin, manage textures and materials, and get the most out of downloaded models.
Interior Design Resources — reference articles on furniture styles, material combinations, and lighting approaches used in professional archviz projects.
Free 3D Model Updates — announcements of new free models added to the library, including furniture, lighting, decoration, plants, and materials.
QuickMerge Plugin News — updates, new features, and tutorials for the QuickMerge 3ds Max plugin.
Who the Blog Is For
The 3D Rush blog is written for practicing professionals and students working in architectural visualization, interior design, and 3D modeling. Whether you are just starting with 3ds Max or managing a production studio, our articles are focused on practical, immediately applicable knowledge.
We avoid generic advice and focus on real workflows used in professional archviz environments. All tutorials and tips are tested in actual project conditions.
Stay Updated
New articles are published regularly. Bookmark the blog or follow 3D Rush on social media to stay updated with the latest tutorials, model releases, and workflow tips.
Browse the latest articles below and start improving your 3D visualization workflow today.


Plants / Indoor / Plants set
PRO
FREE
Standard
3dsMax 2015 + fbx
140K polygons
29 MB